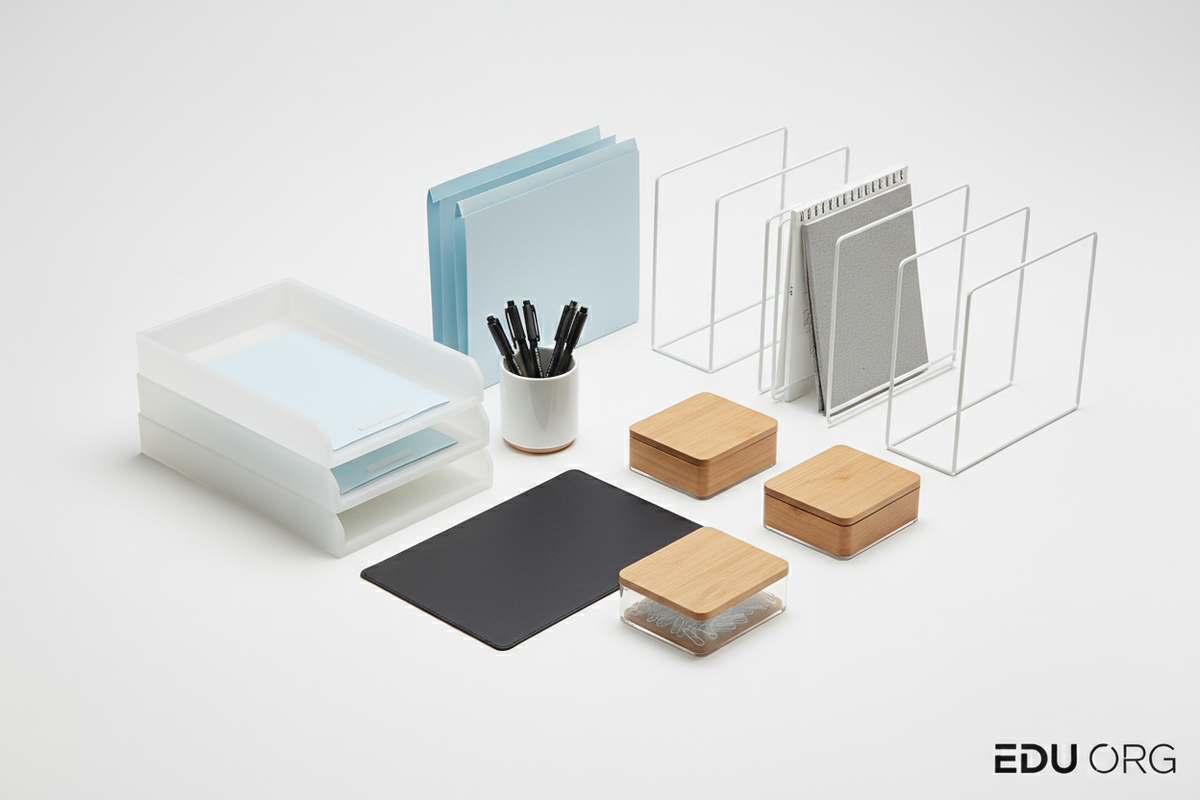
Small Desk. Big Semester. Better Possibilities.
College dorm rooms rarely offer unlimited space.
Your desk may sit beside your bed, near a closet, or only a few feet away from your roommate's workspace.
It might need to hold your laptop, textbooks, notebooks, charging accessories, and everyday essentials.
And somehow, you're expected to study there.
The good news?
A useful dorm workspace doesn't need to be large.
It needs to be intentional.
At EduDesk Studio™, we believe even the smallest study corner can become a place for meaningful progress.
Here's how to build a practical college desk setup without overwhelming your room.
1. Start With a Completely Clear Desk
Before adding organizers, remove everything from the desk.
Sort items into three groups.
DAILY ESSENTIALS
Items you use almost every day.
OCCASIONAL SUPPLIES
Items needed for particular classes or projects.
UNNECESSARY CLUTTER
Items that don't belong in your study area.
Wipe down the surface and begin with a fresh workspace.
This helps you see how much usable space you actually have.
2. Define Your Main Study Zone
Your desk should have enough clear surface area for your primary activity.
For many students, that means room for:
Laptop.
Notebook.
Pen.
Current study materials.
Try to keep the center of the desk open.
Move secondary supplies toward the edges or into storage.
A compact desk mat may help define the main working area.
3. Use Vertical Storage Thoughtfully
When desk width is limited, vertical storage can be useful.
Consider:
Upright document holders.
Compact shelf organizers.
Bookends.
Small desktop storage units.
Approved wall organizers.
Before attaching anything to dorm walls or furniture, check your housing rules.
Avoid unstable stacking or placing heavy items where they could fall.
4. Build a Compact Writing Station
You probably don't need every pen and marker you own within reach.
Start with:
Two or three reliable pens.
Pencil.
Eraser.
Two highlighters.
A few sticky notes.
Store extra supplies in a drawer or portable container.
This keeps your desk functional without sacrificing useful tools.
5. Create a Home for Each Class
When materials from different courses become mixed together, finding what you need can become frustrating.
Try using labeled folders or notebook sections.
For example:
BIOLOGY
ECONOMICS
ENGLISH
STATISTICS
Keep current course materials accessible.
Archive completed assignments and older reference documents separately.
6. Organize Charging Accessories
College desks often include several electronic devices.
Laptop.
Phone.
Tablet.
Headphones.
Other study accessories.
Keep charging cables organized and check that power accessories are compatible with your devices.
Follow residence hall rules concerning extension cords, power strips, and electrical equipment.
Avoid placing cables where they create tripping hazards or become damaged.
7. Make Lighting Practical
A compact task lamp may help with evening reading and writing.
Position it to illuminate your work without shining into your roommate's space.
If you share a room, discuss lighting preferences and quiet hours.
A thoughtful setup should respect both your study needs and the shared environment.
8. Create a Mini Daily Planning Corner
Keep one planner or notebook available for tracking:
Assignments.
Exam dates.
Class schedules.
Personal commitments.
Weekly priorities.
A small planning area can help you see what's coming without spreading papers across the desk.
9. Make Your Desk Personal—Without Filling It
A dorm desk should feel like your own space.
Consider one or two meaningful details.
A small photo.
A favorite postcard.
A simple plant, if permitted.
A personal notebook.
Avoid filling the surface with decorations that leave little room for studying.
The best setup balances personality and function.
10. Try a Five-Minute Dorm Desk Reset
At the end of each study session:
Close notebooks.
Return pens.
Put loose papers in folders.
Remove cups and food wrappers.
Store unused materials.
Prepare the next day's essentials.
A short reset helps prevent clutter from becoming overwhelming during busy weeks.
Example Dorm Desk Layout
LEFT SIDE
Notebook, planner, and writing tools.
CENTER
Laptop and active work area.
RIGHT SIDE
Document holder and compact organizer.
DRAWER
Backup supplies and occasional-use accessories.
NEARBY STORAGE
Textbooks and materials not needed daily.
Adjust the layout to your dominant hand, furniture arrangement, and available space.
Dorm Desk Organization Checklist
Recommended EduDesk Studio™ Collections
Desk Setup & Workspace: Desk mats, laptop stands, and compact workspace accessories.
Organization & Storage: Desktop organizers, folders, and document holders.
Notebooks & Paper: Course notebooks, planners, and sticky notes.
Writing Essentials: Pens, pencils, highlighters, and fine liners.
Tech & Charging: Compatible charging and cable organization accessories.
EduDesk Studio™ Insight
A small desk doesn't have to limit your ability to create a useful study routine.
When your materials have predictable places and your workspace stays ready for the next task, a compact desk can support many different activities.
Frequently Asked Questions
What are the most important dorm desk supplies?
Start with required study materials, reliable writing tools, a notebook or planner, and practical storage for everyday essentials.
How can I organize a dorm desk without buying furniture?
Remove unnecessary items, group supplies, use existing drawers, and create portable storage for materials you don't need every day.
Should I buy a laptop stand for my dorm?
It may be useful depending on your setup. Consider screen position, available space, and whether an external keyboard and mouse would be appropriate.
Final Thoughts
Your college workspace doesn't need to look perfect.
It needs to help you begin.
Make room for your books.
Give your supplies a home.
Keep your priorities visible.
And create a desk that supports your next chapter.
Small Space. Fresh Focus. Big Possibilities.
Explore College Desk & Study Essentials at EduDesk Studio™ →